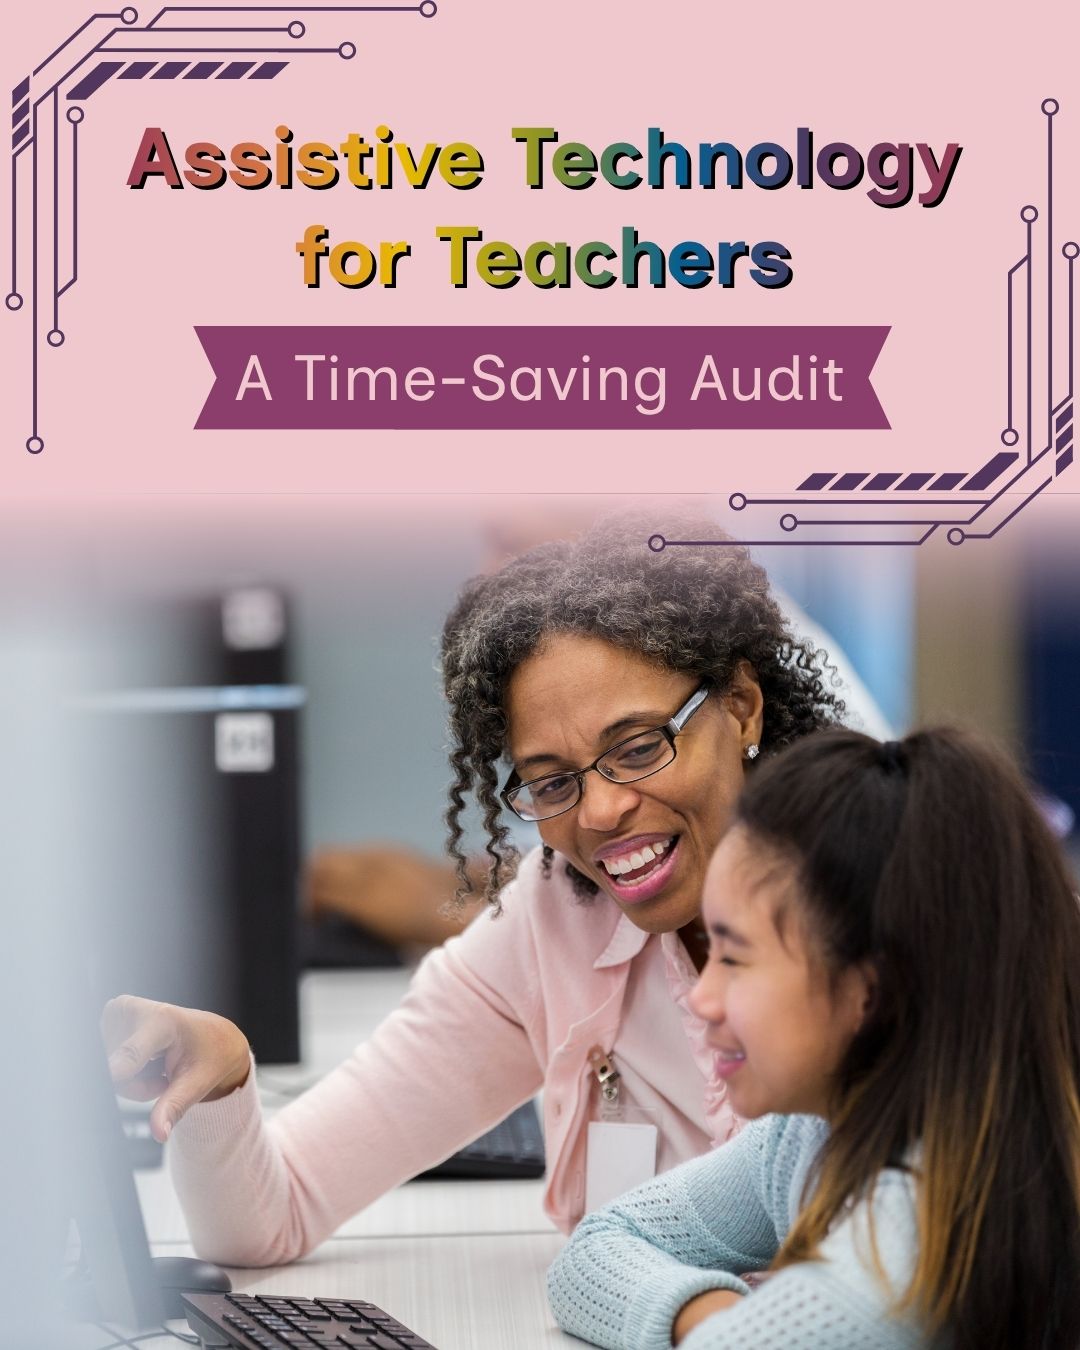
Assistive Technology for Teachers: A Time-Saving Audit
Assistive technology (AT) for teachers often gets framed as a student support: a bridge, a way to “level the playing field” (as my Dad would’ve said). But here’s the part we don’t talk about enough. When AT is implemented well, it supports your students and makes you more productive, with a little less stress along the way.
If you feel like you’re constantly putting out fires or repeating instructions until you’re blue in the face, it’s time to let the tech carry some of that load. Use this four-step audit to look at your classroom with fresh eyes.
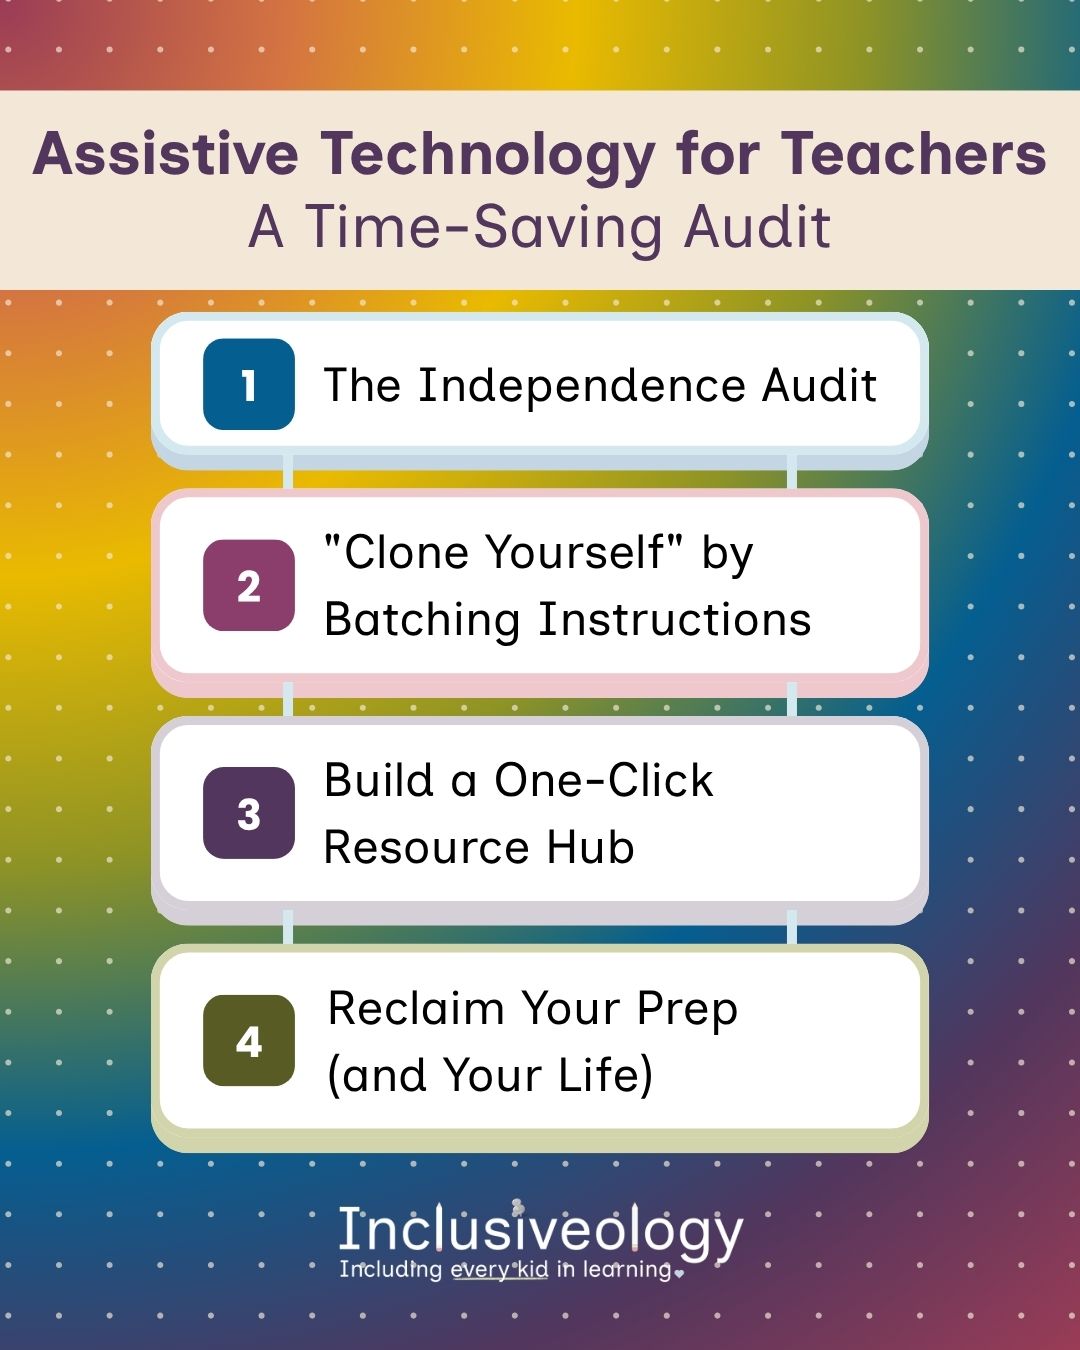
Step 1: The Independence Audit
Identify one recurring daily task where a student currently relies on you for help. Is it reading a prompt? Spelling a word? Staying on task?
The Swap: Replace that teacher touchpoint with a tool like speech-to-text, an immersive reader, or a digital visual schedule.
The Result: The student, not you, becomes the go-to for that task, and genuine independence starts to build.
Step 2: “Clone Yourself” by Batching Instructions
How much time do you spend repeating the same directions to three different groups? A lot, most likely.
The Swap: Use a video or audio recording tool, like Loom or Mote, to create reusable instructions.
The Result: Students can replay you as needed and self-start, which frees your energy for high-impact, small group instruction with whoever needs you most.
Step 3: Build a One-Click Resource Hub
Hunting for links and login pages is a real time-sink, and a frustrating one, for both you and your students.
The Swap: Organize your most-used assistive links and digital tools in one centralized hub, like a Padlet, a Google Site, or a pinned Classroom post.
The Result: “Where do I go?” and “What do I do now?” fade out, and transitions run smoother for everyone.
Step 4: Reclaim Your Prep (and Your Life)
AT automation is about directing your energy toward the work that matters most, not piling on more of it.
The Goal: Use the minutes these digital systems save to actually leave work on time.
The Result: A healthier work-life balance, and a teacher who gets to stay in a profession they love.
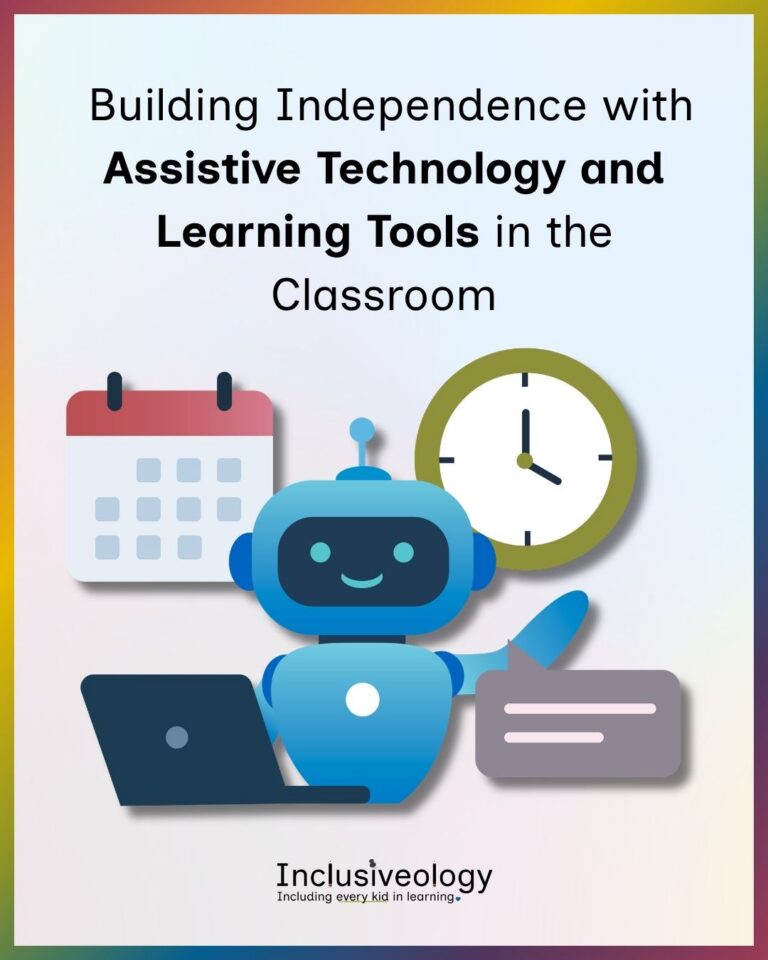
| Ready to put these swaps in place? Our Assistive Technology and Learning Tools hub inside the community has ready-to-use tools and guides so you can start today. 💙 |